How to Set Up a Basic Carving Workbench for Maximum Efficiency
Behind every successful sculptor lies a custom-designed workbench. A good working environment is not only the foundation for successfully completing a sculpture, but also the key to making the creative process comfortable and smooth. By scientifically and rationally arranging tools and equipment, you can significantly reduce unnecessary hand movements and operational obstacles, thereby maximizing sculpting efficiency. For sculpting beginners, after selecting suitable sculpting tools, it’s worthwhile to spend some time observing and adjusting your workbench.
Arrangement Directions for Different Carving Workbenches
Wood Carving Workbench
Wood carving typically involves significant arm movements, so the workbench surface should be spacious and stable. Tools should be placed within easy reach of both hands, while keeping the work surface clean to facilitate observation of wood grain variations. Frequently used tools such as chisels and files can be placed near the work area, while air guns and cleaning brushes can be placed within easy reach at the edge.
Jewelry Carving Workbench
Jewelry carving is delicate and requires high precision, so the workbench surface should not be too large. The microscope, main carving machine, and fixtures should be arranged in a triangle to maintain the optimal coordination distance between the eye, hand, and tools. Light should be evenly focused to avoid shadows obstructing the view or causing eye strain.
Stone Carving Workbench
Stone carving work typically requires significant force and generates considerable vibration. The workbench surface should be stable and heavy, and equipped with vibration damping pads. Important tools such as hammers and chisels should be arranged according to their frequency of use to ensure smooth and safe hammering movements.
Essential Tools List for a Basic Carving Workbench
An efficient basic carving workbench typically includes the following core equipment
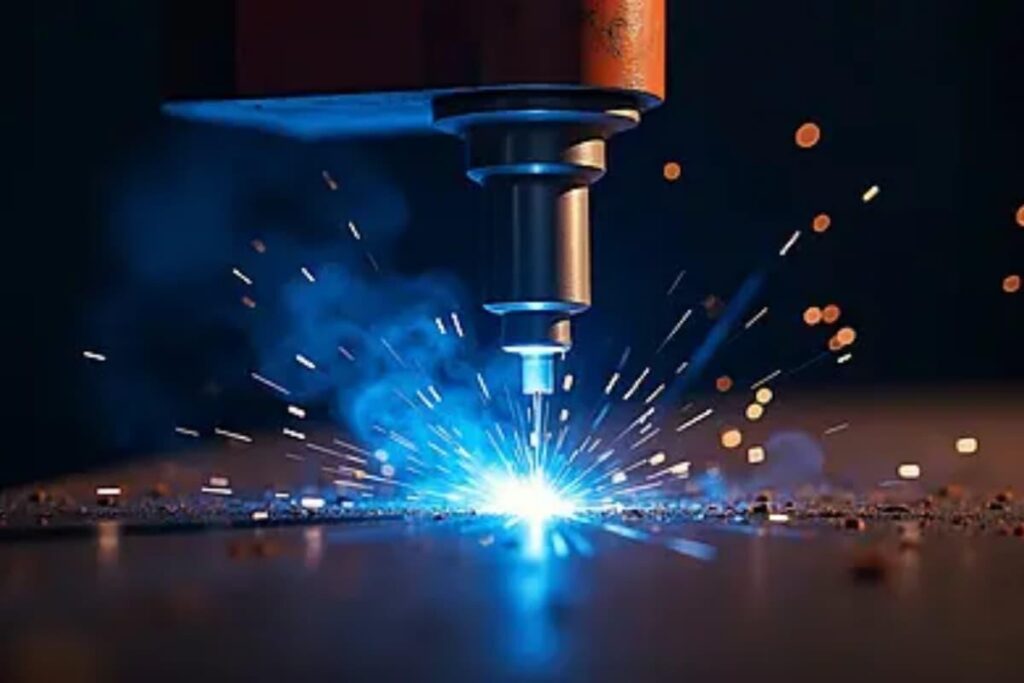
Main Carving Machine
As the core power tool in the entire engraving process, the placement of the main engraving machine directly affects operational stability and long-term comfort. Ideally, the engraving machine should be placed directly in front of the body, in the center of the workbench, allowing the hands to hang naturally while operating, avoiding excessive wrist bending or shoulder tension. It’s important to note that while large professional engraving machines offer high precision and powerful functions, they are bulky, difficult to move, and have significant limitations. Beginners are advised to choose a small, home-use pneumatic engraving machine, which takes up little space, is highly flexible, and can be adjusted according to individual posture and work habits. For example, the popular Katway 3-in-1 Jewelry Engraving Machine from Katway and Lakimi. This type of repositionable pneumatic engraver helps beginners find the most suitable operating angle during practice.
Air Gun (for chip removal and clogging)
The air gun’s function may seem simple, but it’s a key tool for maintaining a continuous carving rhythm. If the chips generated during carving aren’t cleaned up promptly, they can easily obscure the view of details, forcing you to stop frequently to observe. It’s recommended to place the air gun on the side of the main carving machine, in a position easily accessible with your dominant hand, avoiding leaning forward or turning around while operating. For beginners, a small, low-pressure air gun is sufficient, effectively blowing away chips without the airflow being too strong and affecting the carving surface.
Microscope (essential for fine carving)
A microscope is an indispensable observation tool in fine carving. Its placement height and angle directly affect eye and neck comfort. Ideally, the microscope should be at eye level, allowing for clear observation of details while sitting with your head naturally raised, avoiding prolonged periods of looking down or leaning forward. For beginners, a small, height-adjustable microscope that can be moved back and forth is more user-friendly, allowing for fine-tuning according to individual posture. The microscope should not be placed too far away, otherwise it will increase the frequency of switching perspectives, affecting overall carving efficiency.
Jigs and Fixtures
The core function of jigs and fixtures is to provide stable support for the workpiece, thereby reducing extra force on the hands. If the workpiece is not securely fixed, the hands will unconsciously share the stabilizing task, easily causing fatigue over time. Jigs should be fixed at the edge of the worktable or near the main operating area, ensuring adjustments can be made without changing the sitting posture. Beginners don’t need to pursue complex structures when setting up; a basic adjustable jig will meet most needs. The key is to keep the workpiece stable, allowing the hands to focus on carving itself, rather than resisting shaking.
How to arrange the worktable most reasonably?
From a scientific perspective, a reasonable worktable layout should follow three principles:
First, vibration prevention
Place vibrating equipment in a stable area, using non-slip, vibration-damping materials to reduce the impact of resonance on accuracy.
Second, ease of use
Tools should be within natural reach, with the wrist maintained at a neutral angle, avoiding prolonged suspension or twisting.
Third, minimize operating distance
The ideal layout centers on the artwork, with tools arranged in a semi-circle, allowing for quick and smooth access to tools each time.
The Importance of Lighting and Lighting Recommendations
Carving is sensitive to detail, making lighting crucial. The intensity of light on the workbench directly affects judgment accuracy and eye fatigue. A recommended approach is a main light source + localized supplemental lighting:
Main Light Source: Soft and covers the entire workbench, providing uniform illumination and avoiding harsh shadows.
Supplemental Light: Focuses on specific carving points, reducing shadows and enhancing detail contrast.
Light Color Recommendation: Use cool white light close to natural light to reduce eye fatigue and help maintain eye comfort for extended periods.
Effortlessly Improve Carving Efficiency
By scientifically planning and arranging your tools, you’ll discover that carving is no longer a struggle against your environment, but a smooth, focused, and enjoyable creative experience. A workbench that truly suits you will subtly help you improve both efficiency and quality.
Disclaimer
The information provided in this article is intended for general educational and informational purposes only. Carving, engraving, and sculpting involve the use of sharp tools, power equipment, and materials that may pose safety risks if handled improperly. Readers are responsible for ensuring they follow appropriate safety practices, wear protective equipment, and comply with manufacturer guidelines when setting up and using any carving workbench or tools.